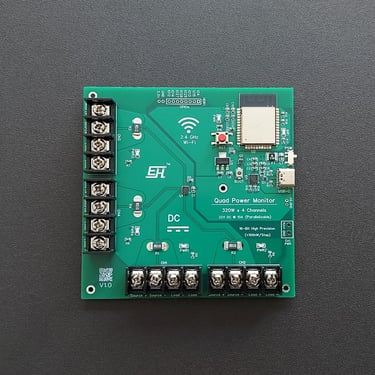
Introducing the Quad
Power Monitor V1.0
Limited production release for Researchers & Engineers

OPTIMIZED FOR BENCH-TOP AND LAB-GRADE APPLICATIONS
Voltage: <±0.1% Current: <±0.1%
Power: <±0.2%

*EH(Electrohouse) is a brand trademark of Daniyal Qureshi. DC Power Monitor is a copyrighted work of Daniyal. Unauthorized use or reproduction of any content, design , or features on this website is prohibited.
Features:
Wireless Wi-Fi data logging (Supports Google Sheets integration, customizable log intervals from 10 seconds up to hours, with selectable channels.
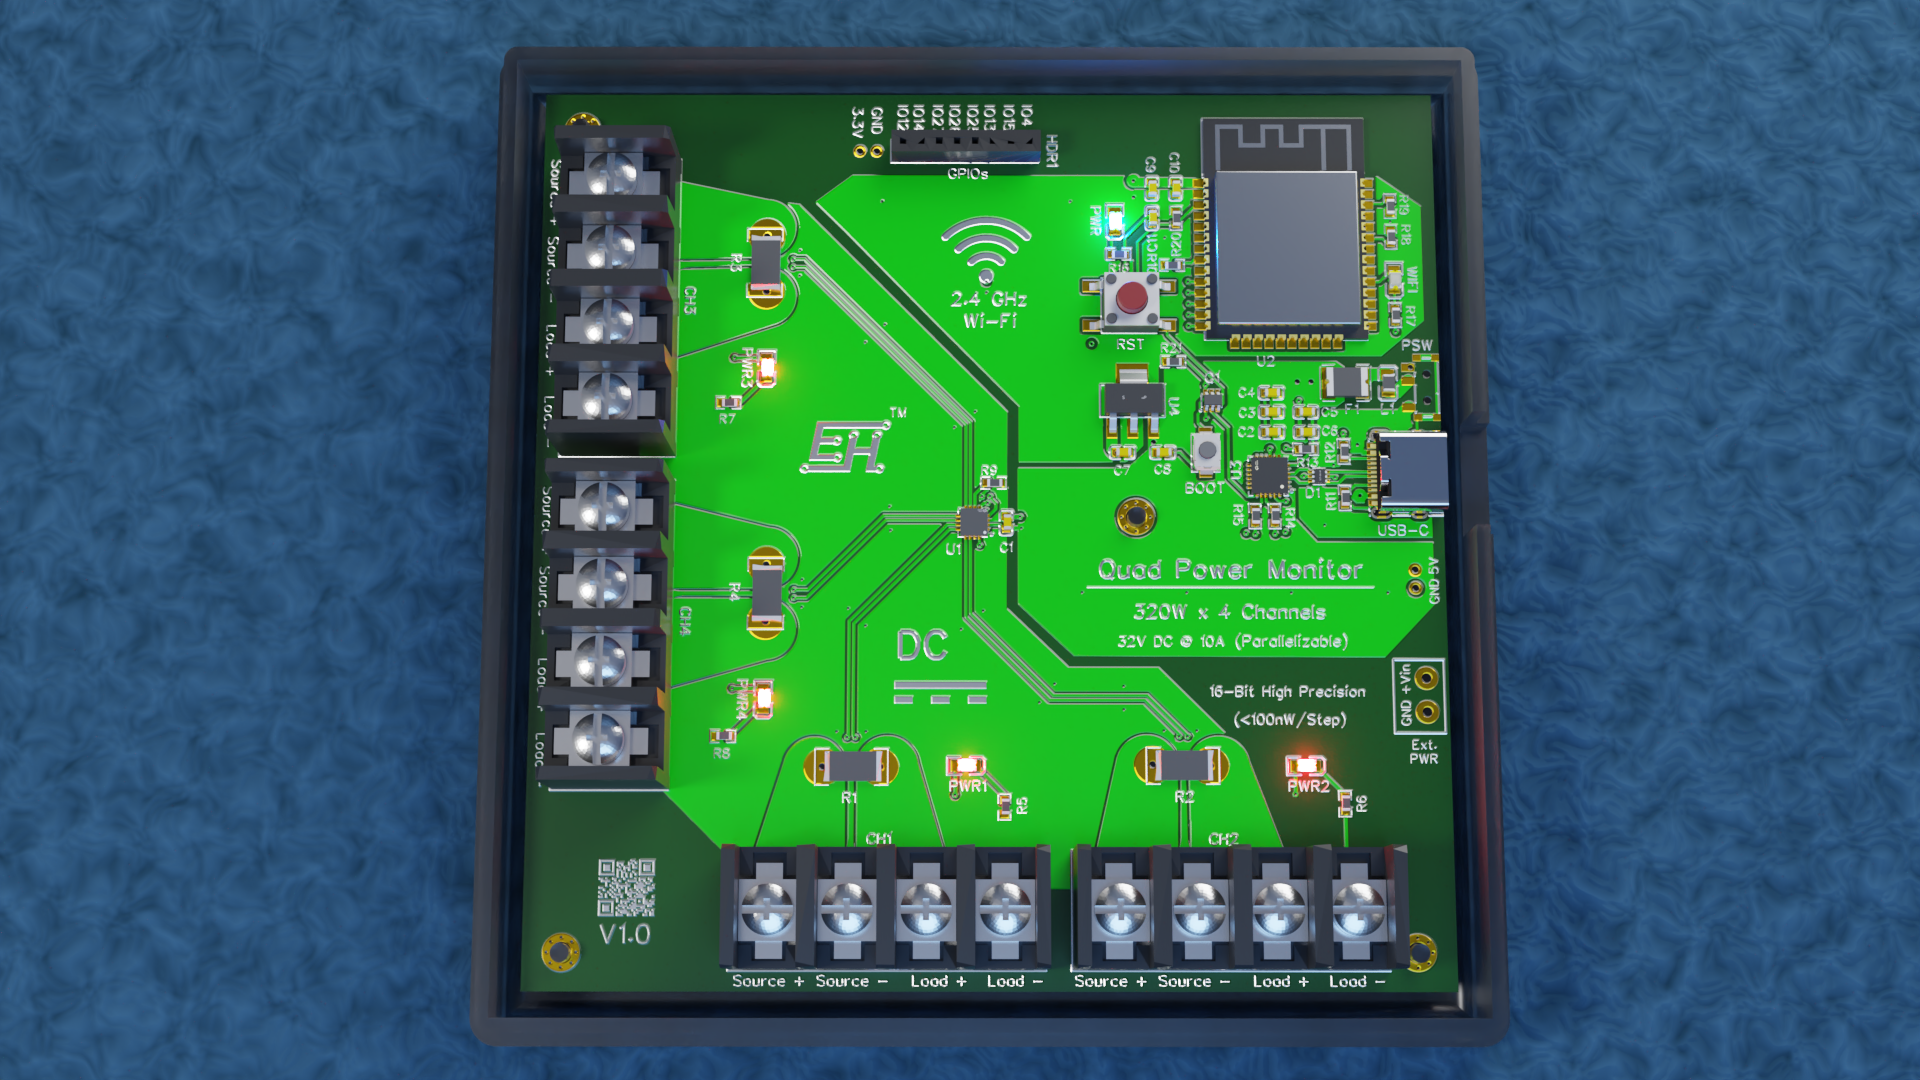
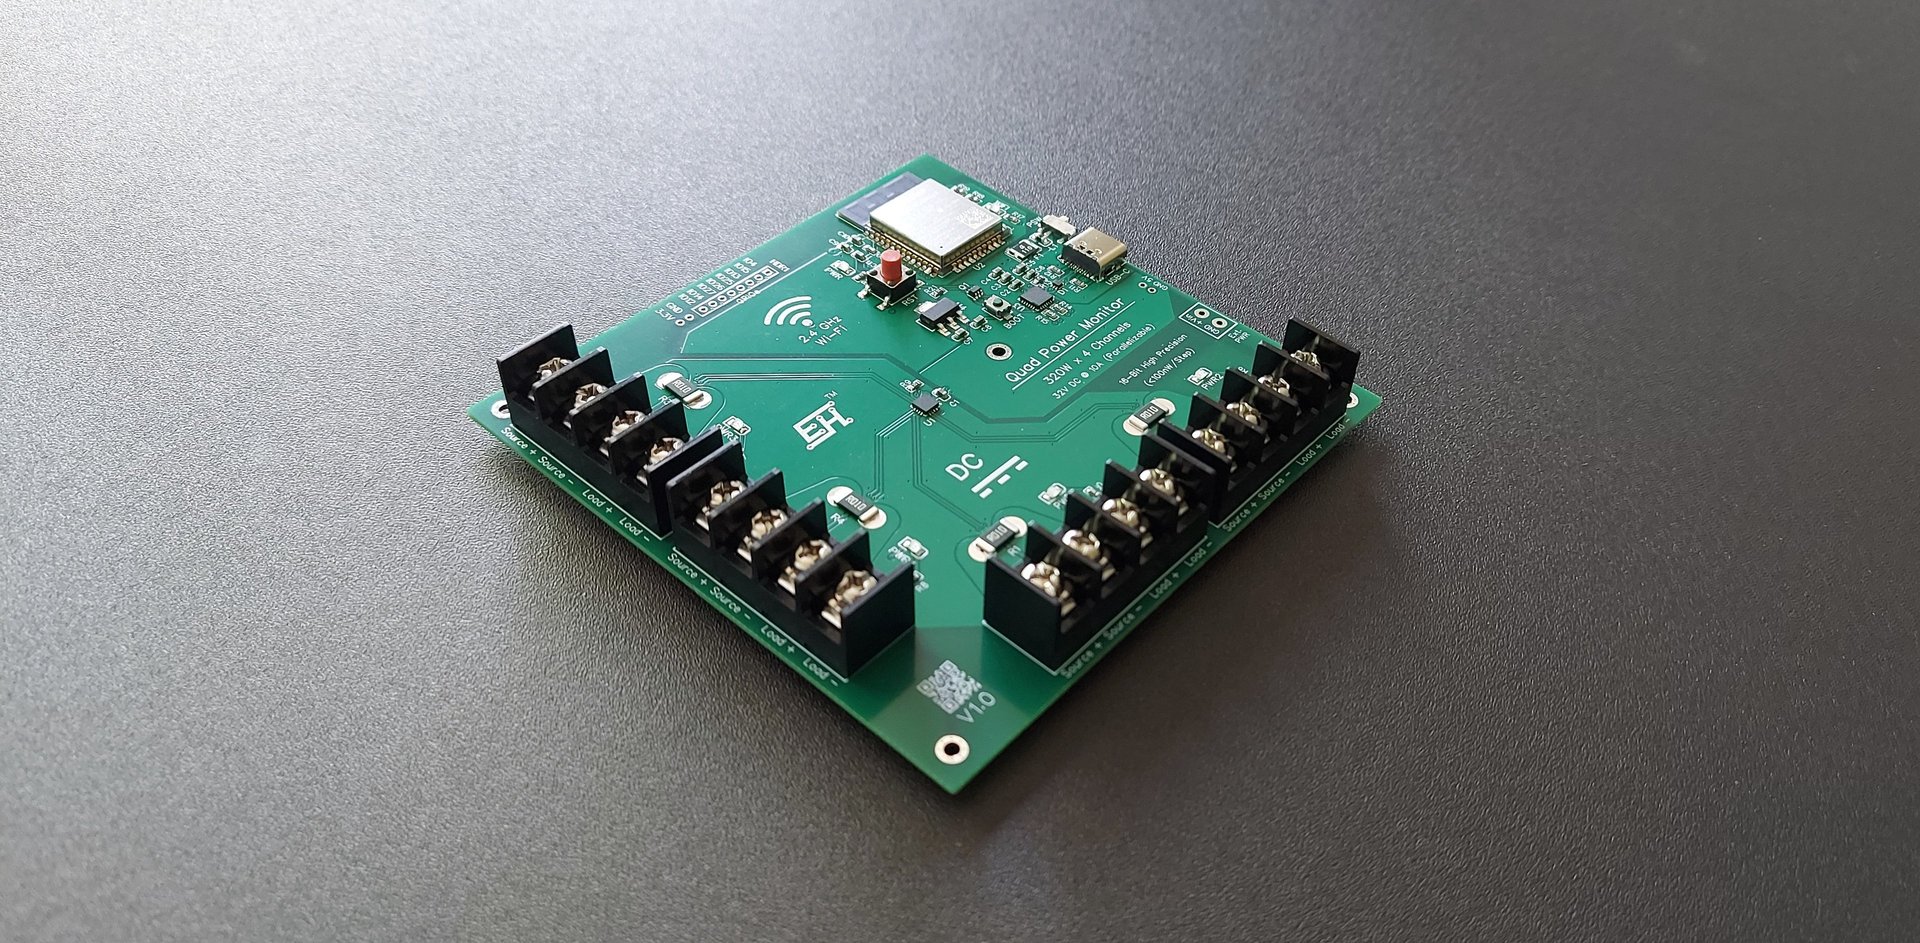
320W (32VDC 10A) x 4Channels (Two 320W channels can be combined to get a 640W mega channel)
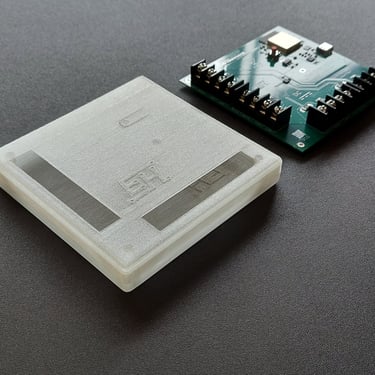
16-bit Precision with Wide Dynamic Range and <0.2% Power Error, Featuring Auto-Calibration and Real-Time Load Correction Model (Built using Microchip's industrial grade PAC1954 chip)
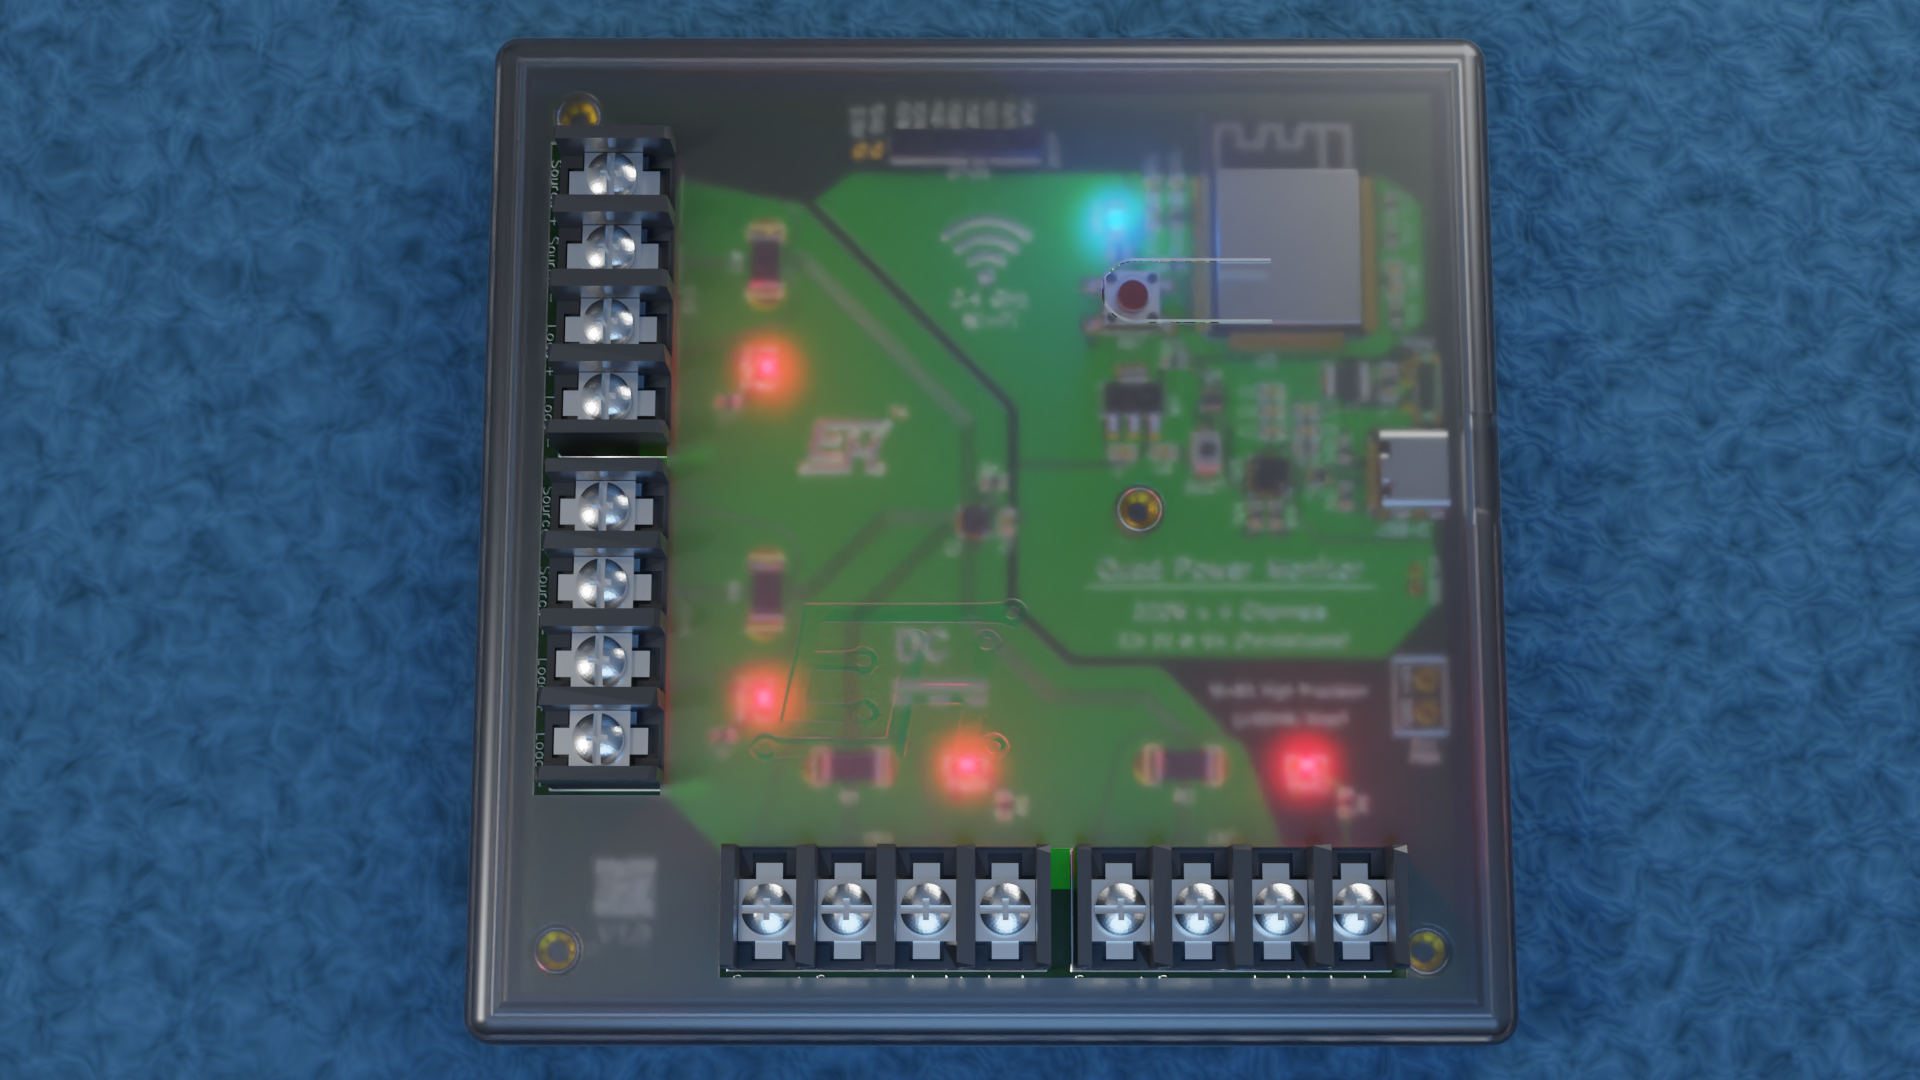
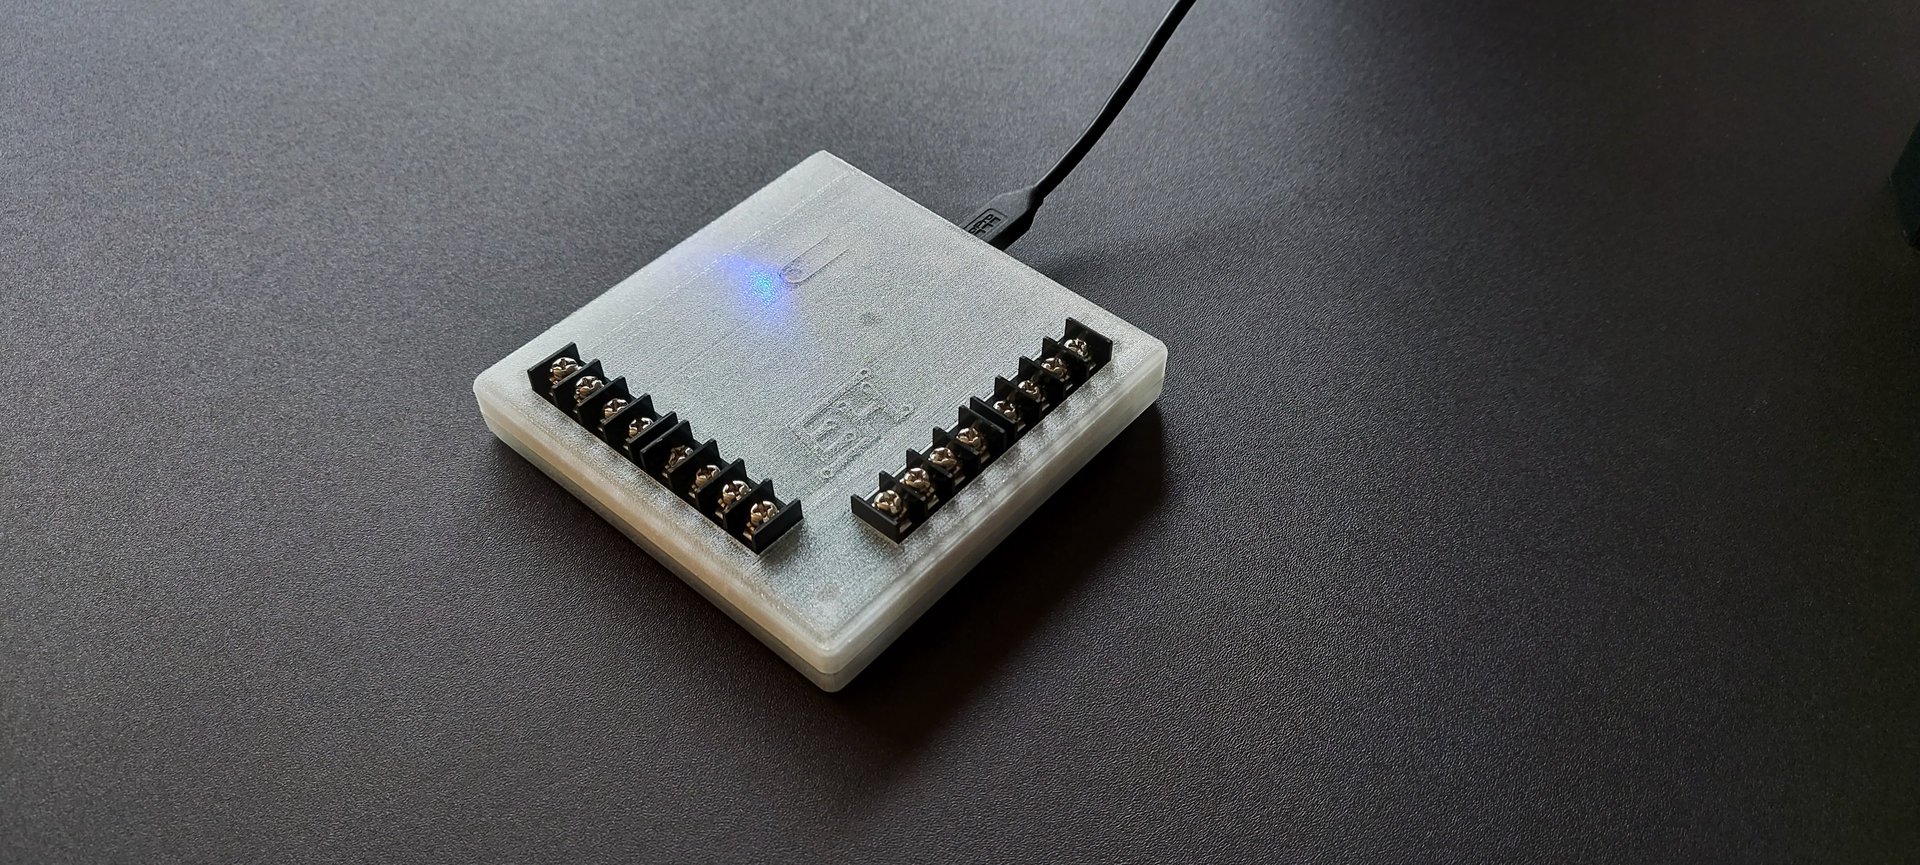
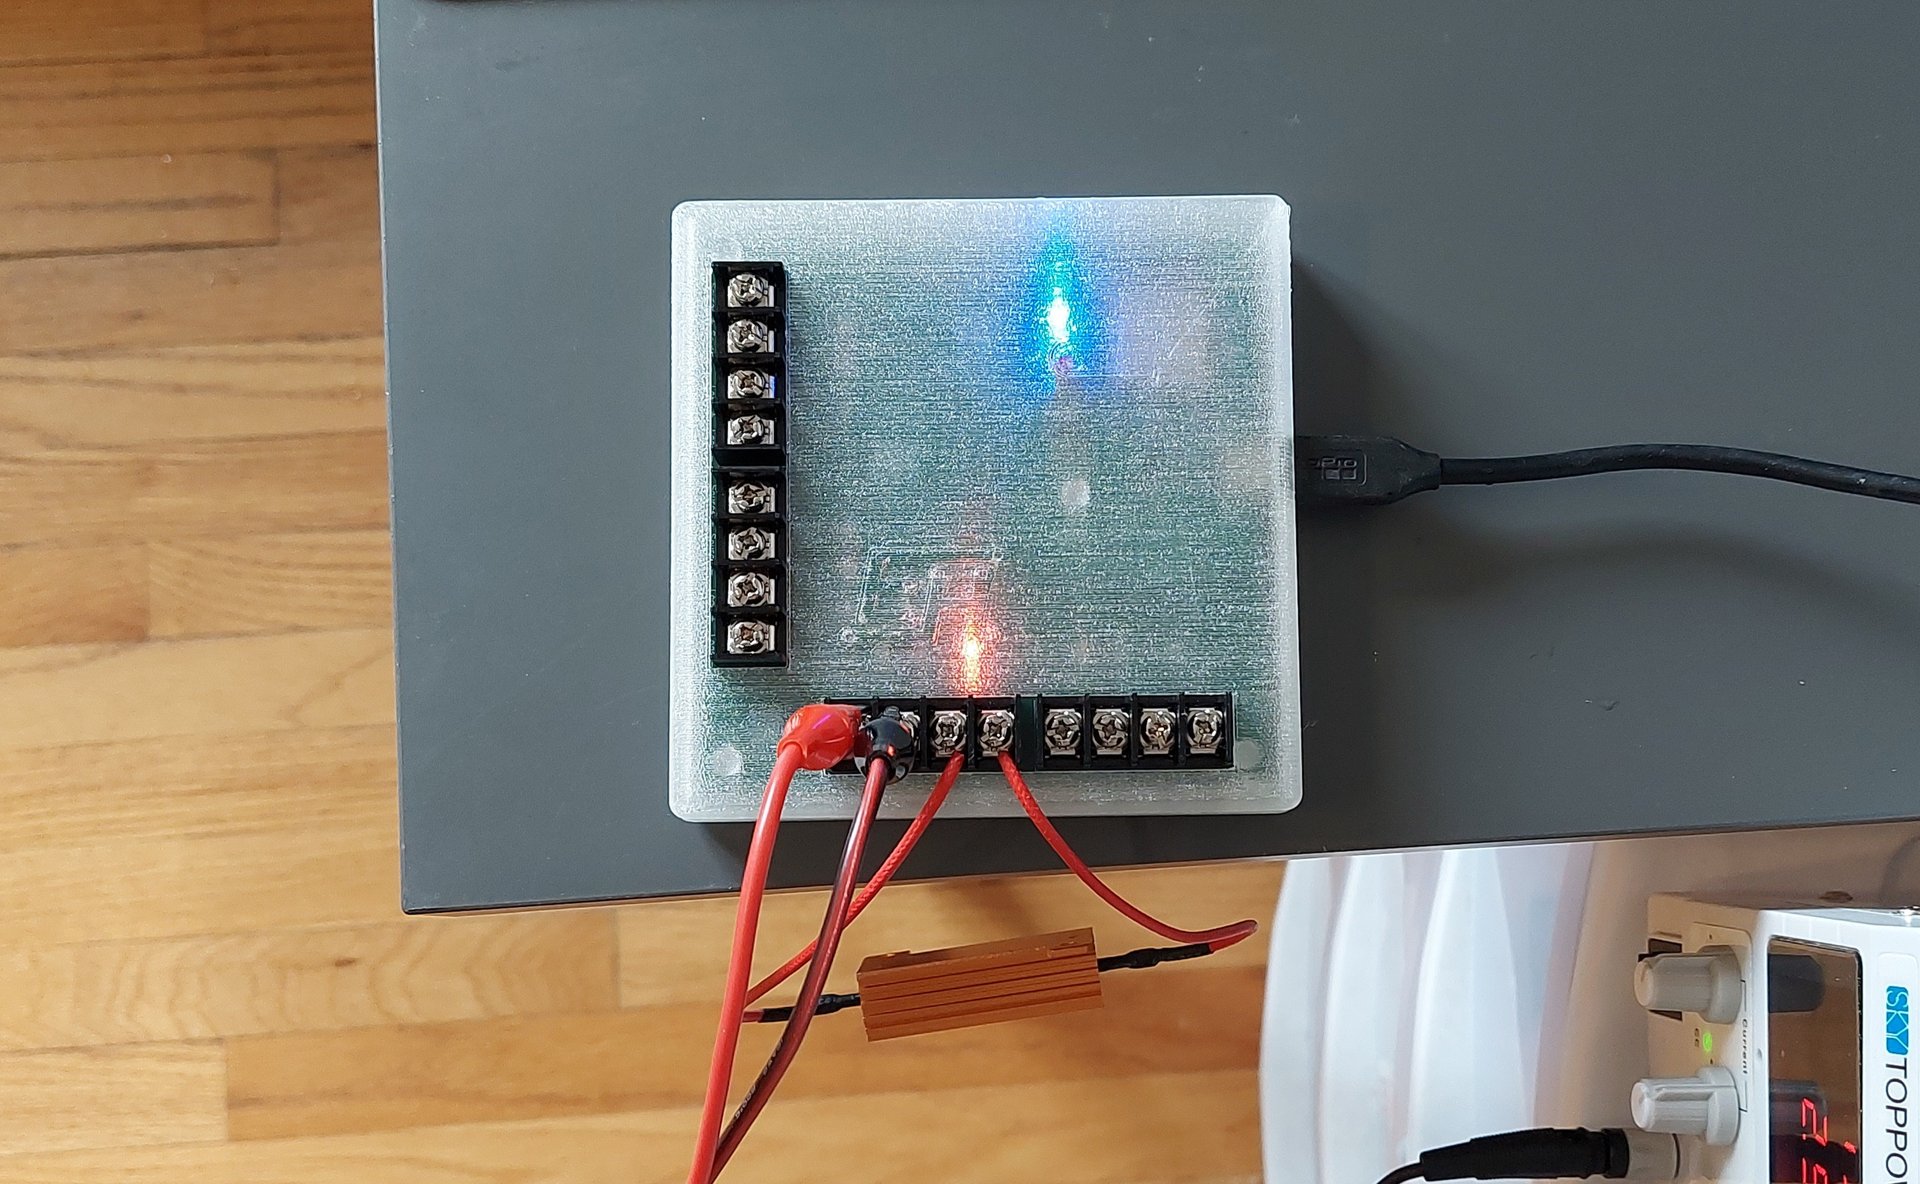
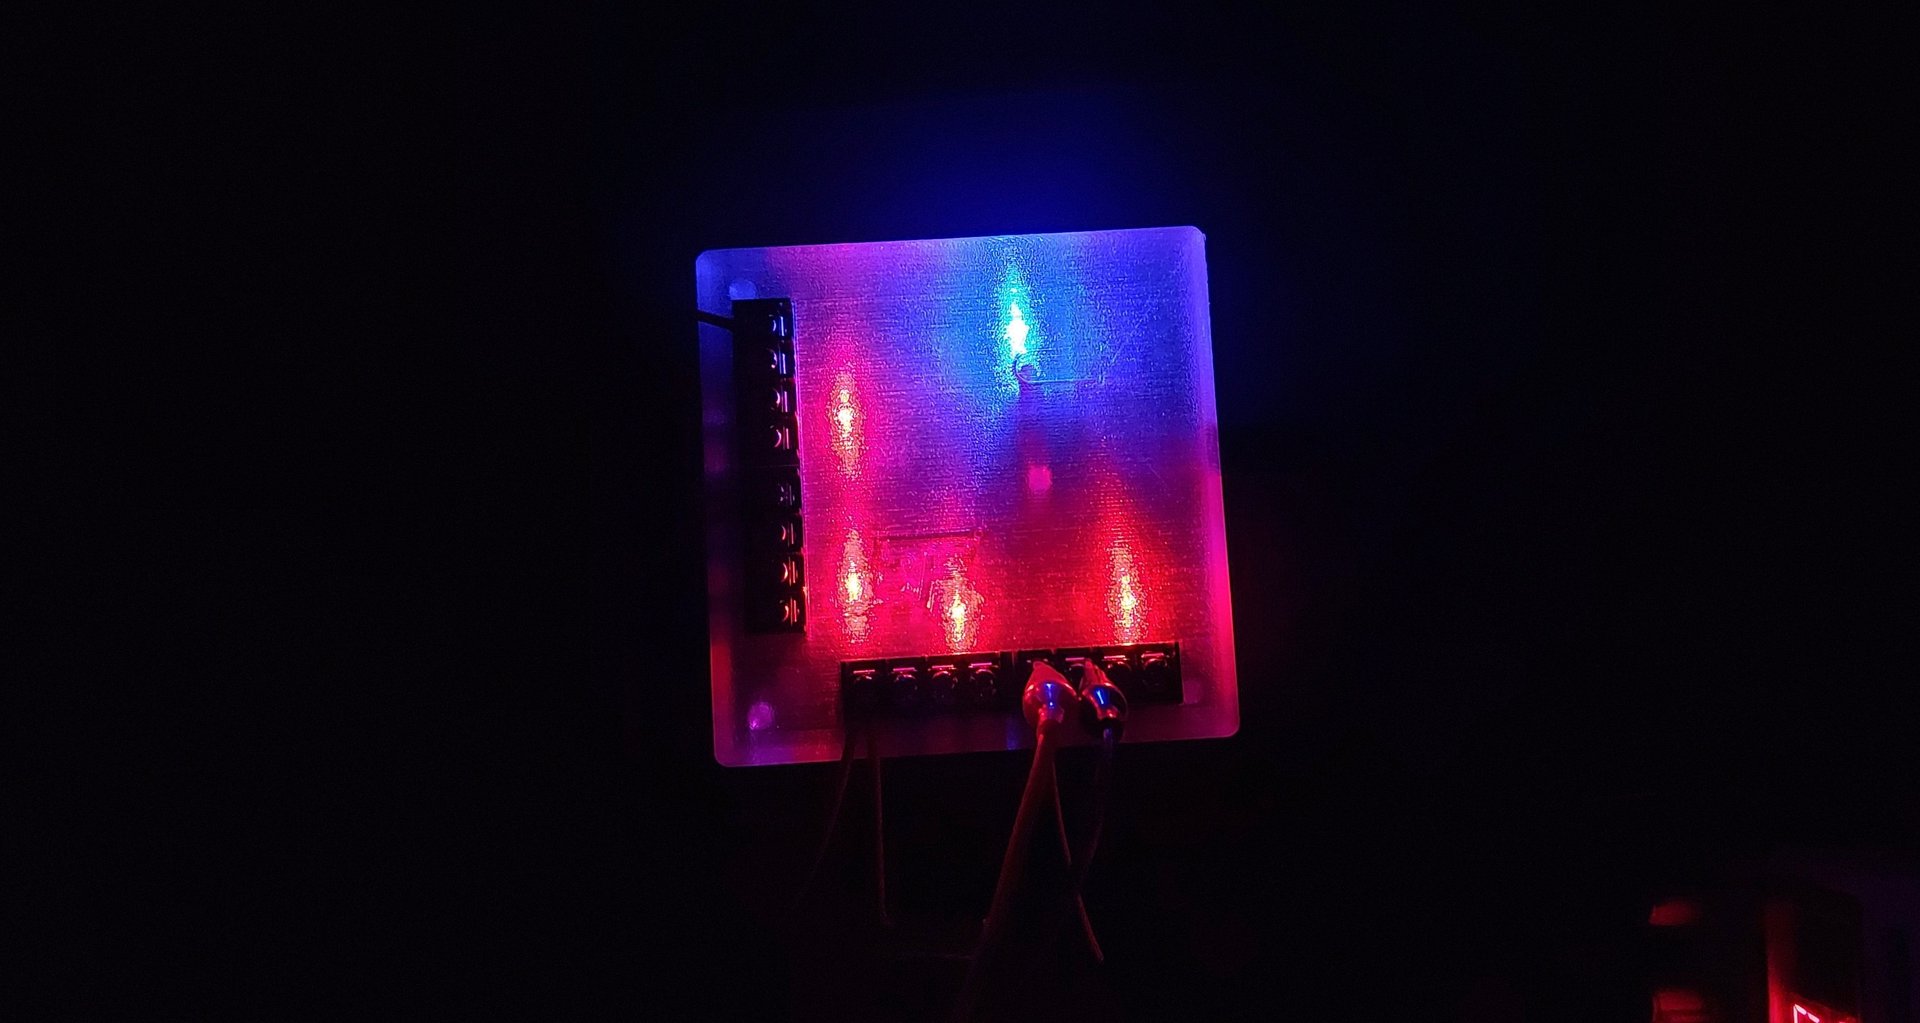
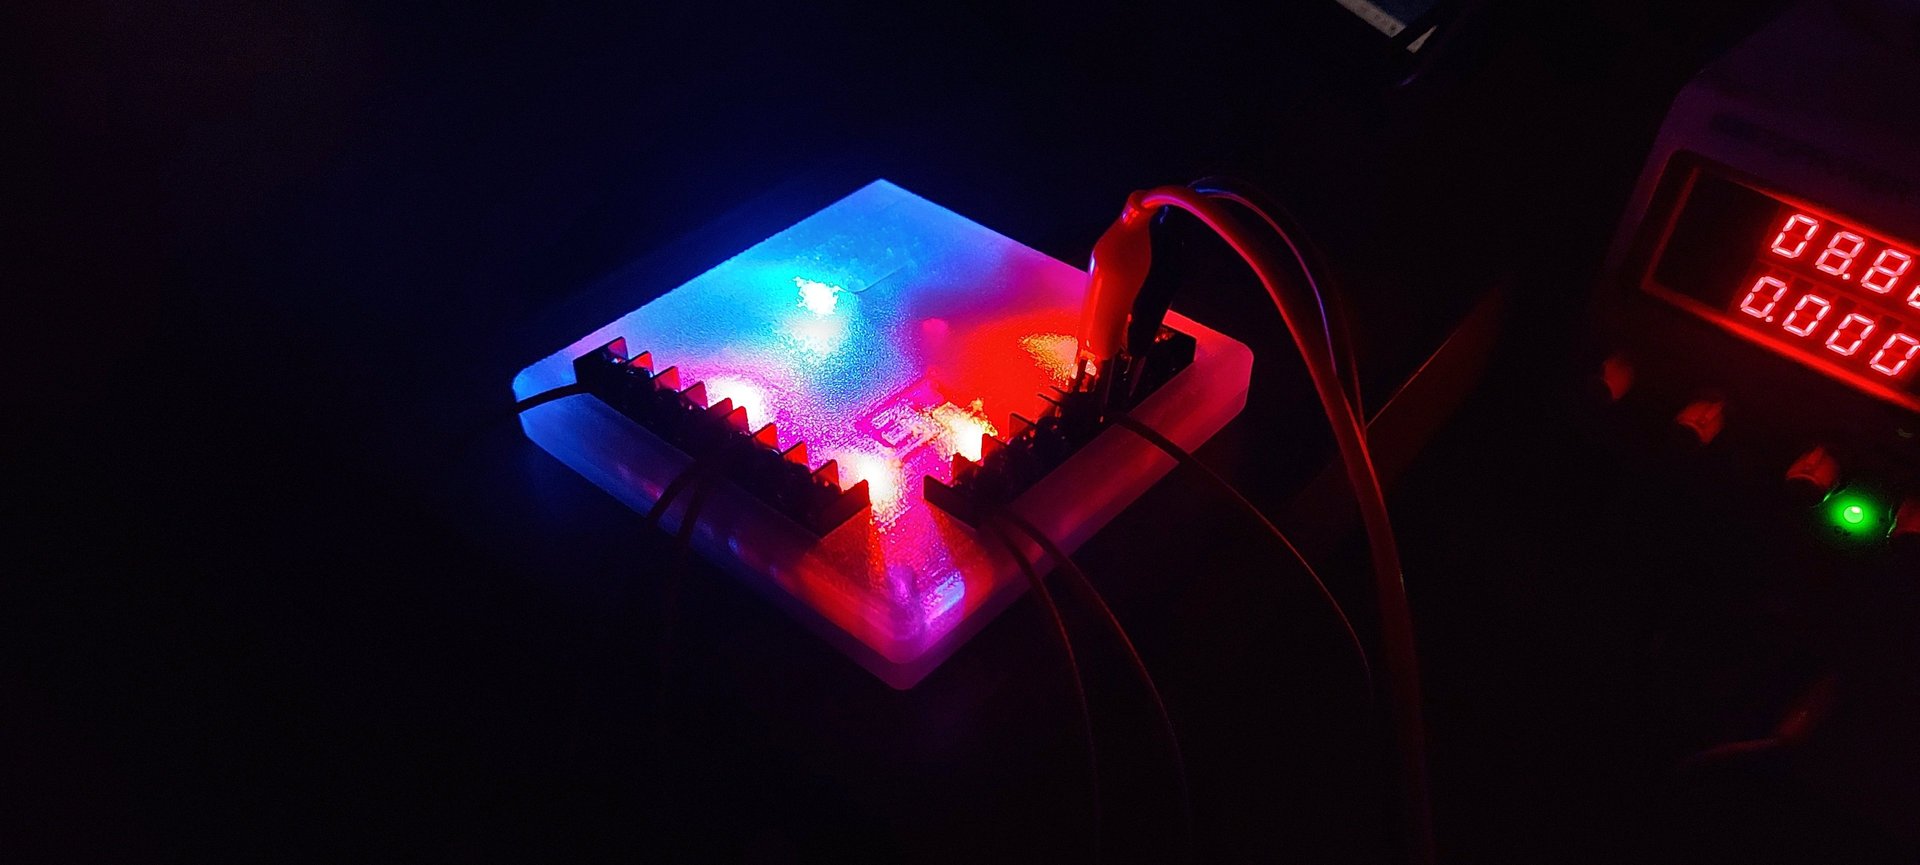
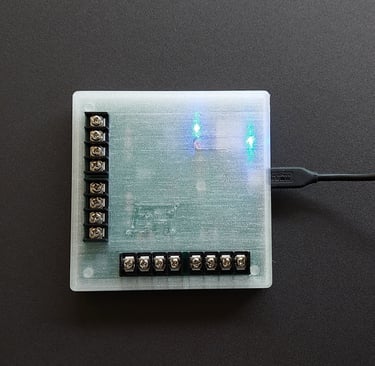
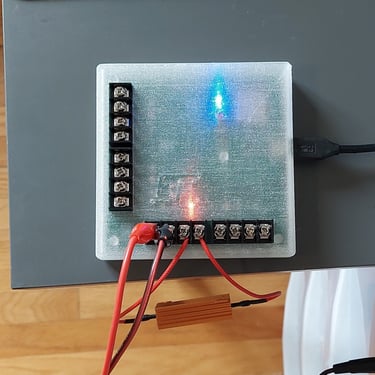
Power indicator for each channel (LED brightness reflects voltage level)
Basic Opensource Cloud Software available.
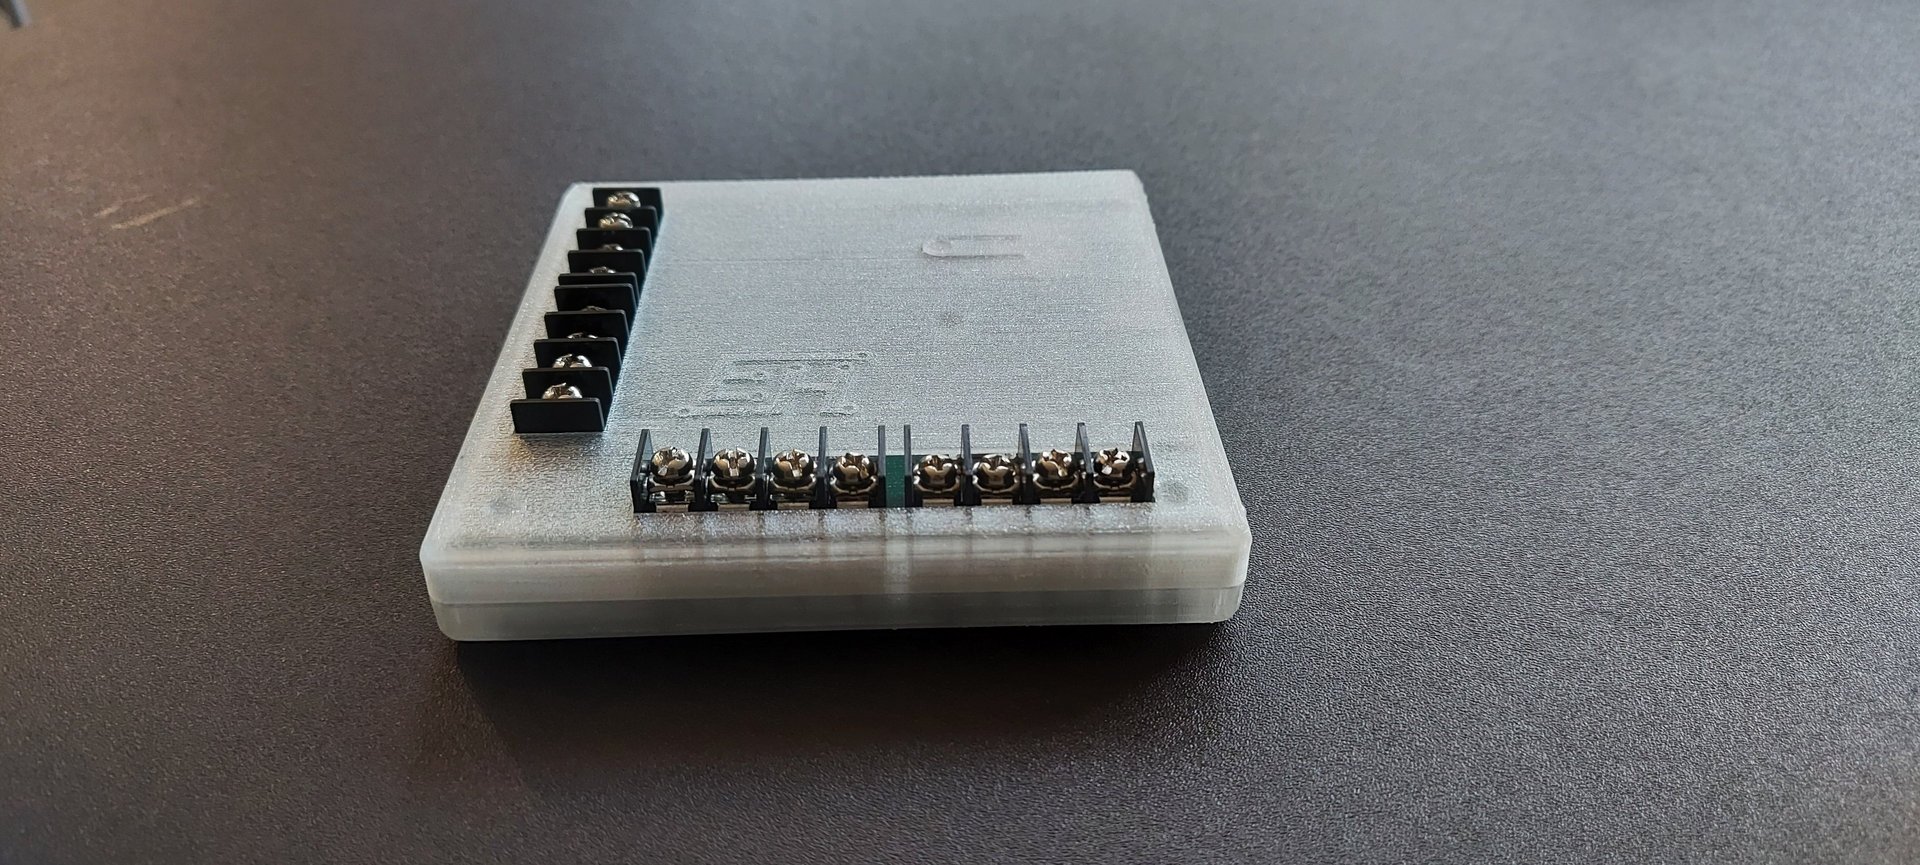
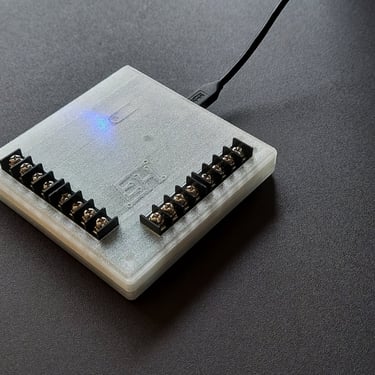
(Users can freely customize their own software to analyze raw data using the provided Google Script code)Robust screw terminals for convenient connections.
Power efficient and simple USB-C powered with exposed power pads for external power supply.
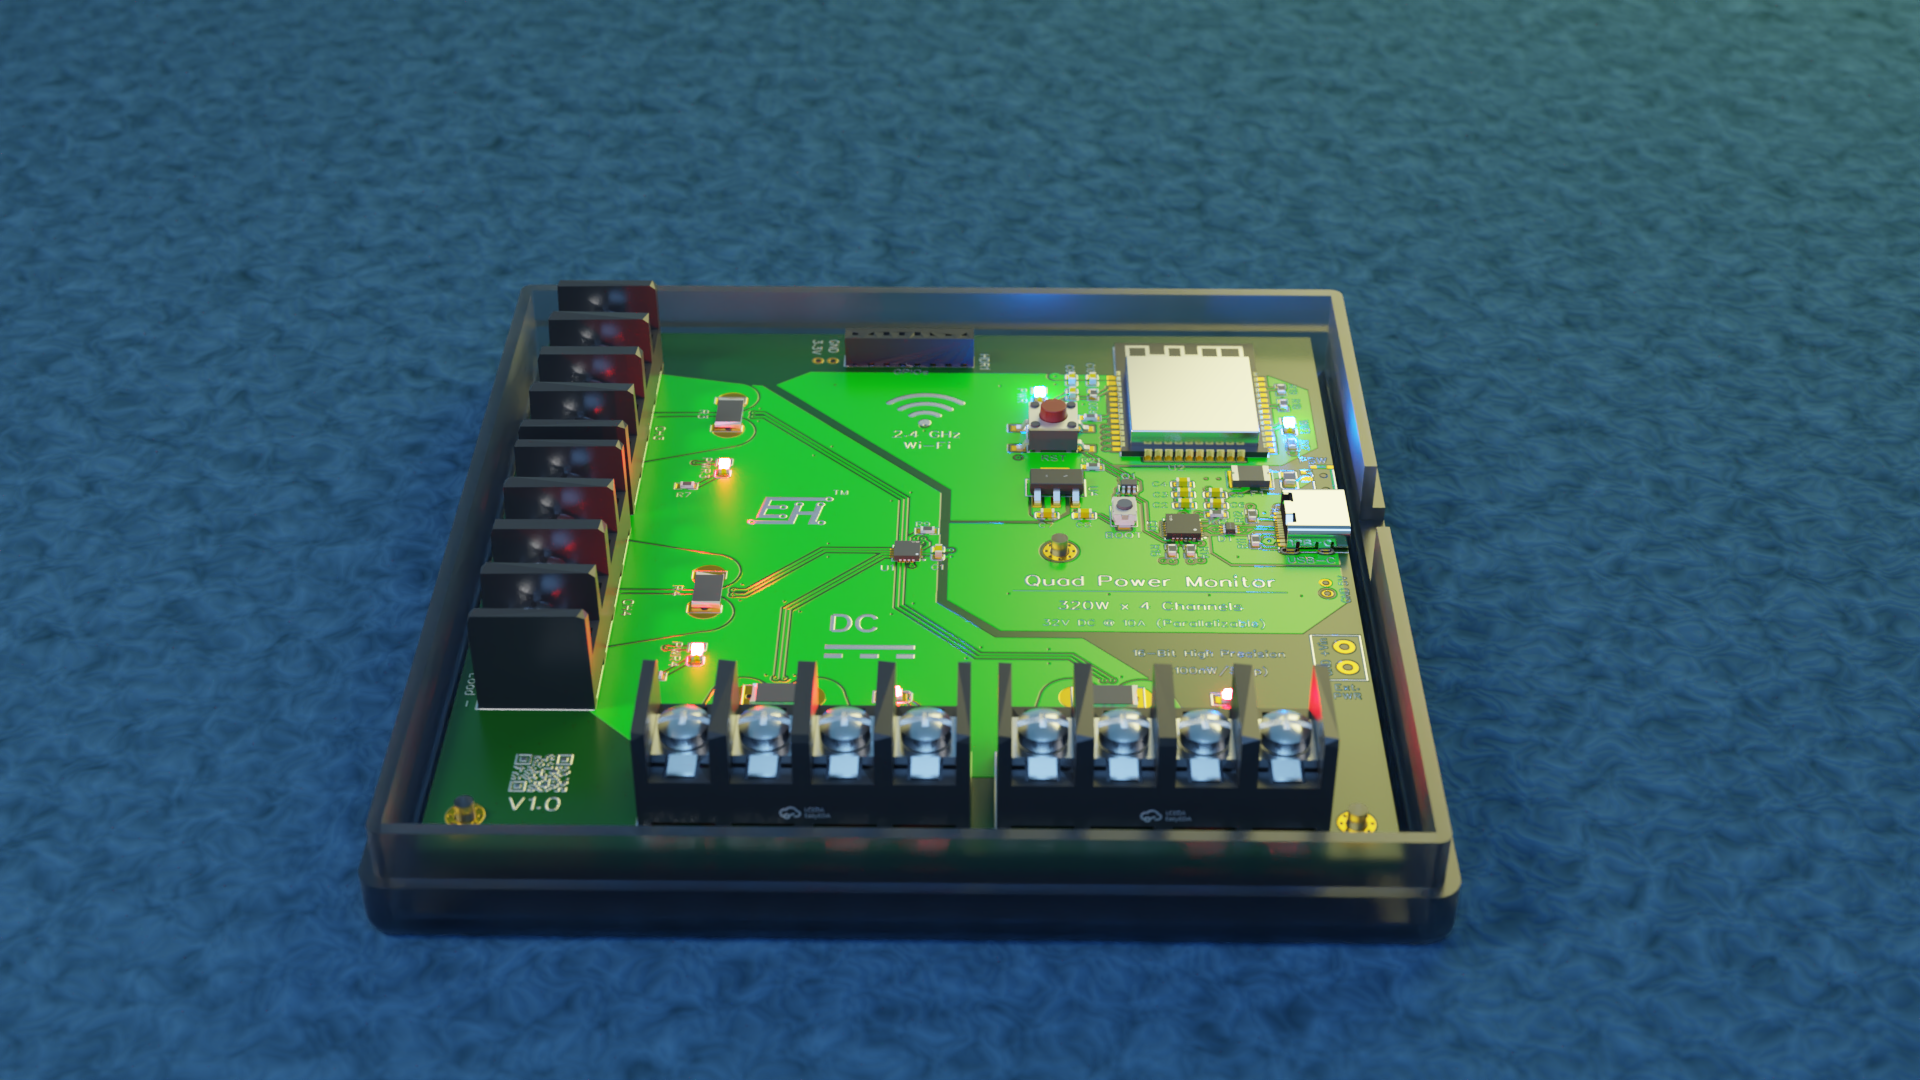
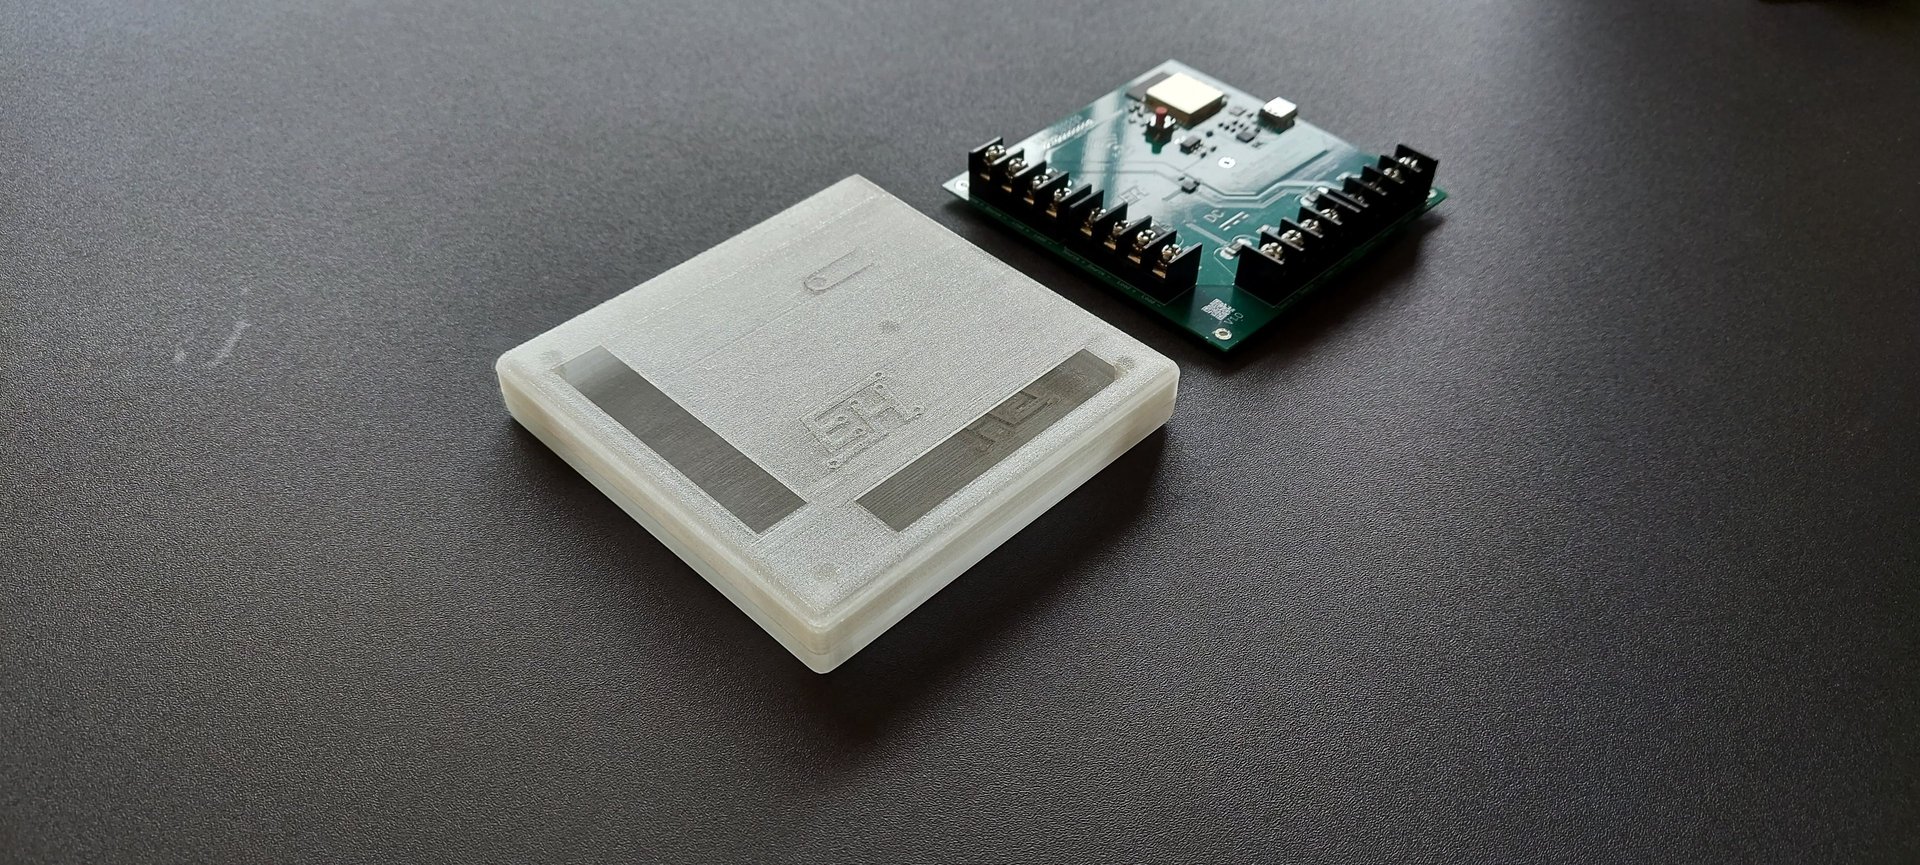
3D printed Transparent PETG enclosure(Strong, UV-resistant, chemically durable — perfect for visibility and rugged use)
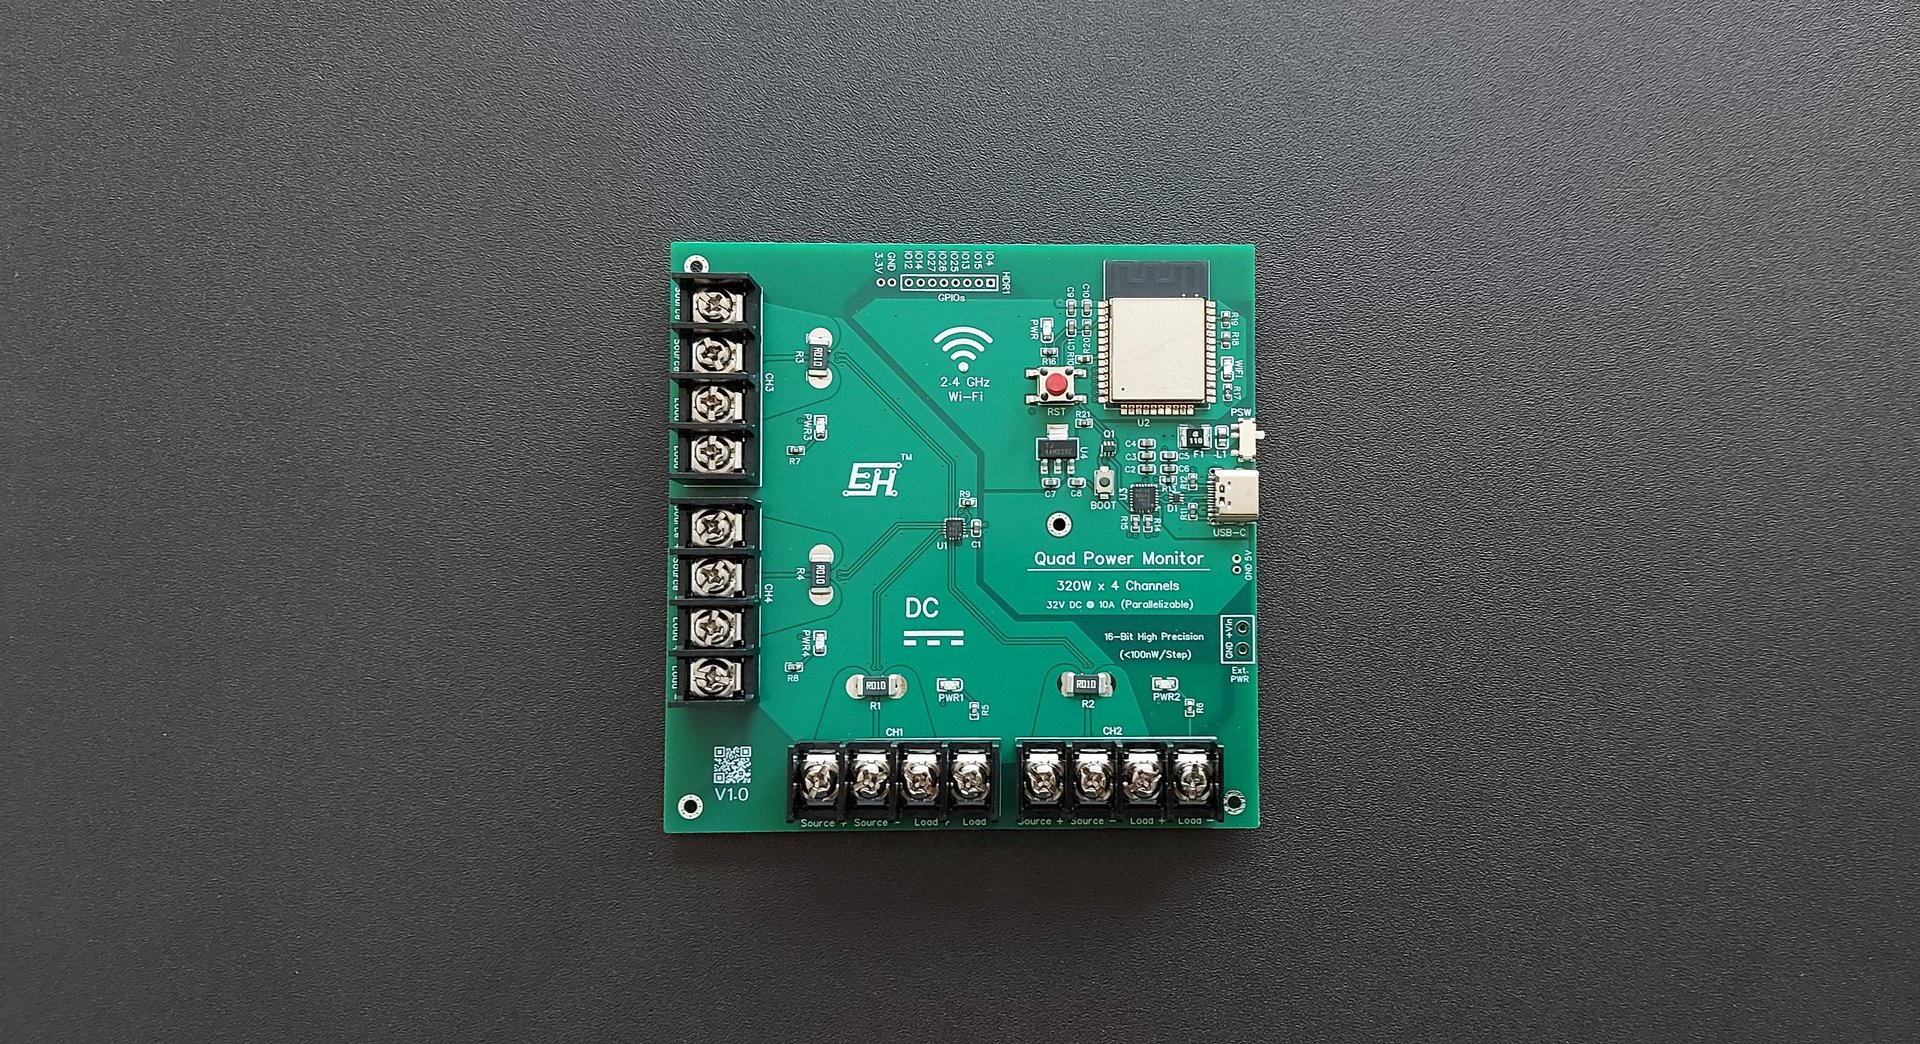
8 GPIOs for custom I/O such as adding external sensors, actuators or serial communication.
Currently available for delivery only within Canada.
Application:
Off-grid systems (Solar Panel & Battery), DC-DC Power Converters Efficiency, Small electronic device efficiency or carbon emission measurements.
Nominal Price : CAD 300
Disclaimer:
Channel Current Capacity : This Quad DC power monitor is rated and calibrated for maximum 10A continuous DC current per channel and over-engineered to handle 20A surge per channel. Operating the device beyond these specified current limits may result in damage to the product and pose safety risks. However, such overcurrent situations are highly unlikely when used with normal DC power sources such as solar panels and other self-regulated power supplies.
Thermal Stability: The transparent PETG enclosure is thermally stable up to approximately 80°C. Prolonged exposure to higher temperatures may cause softening or deformation. For best results, avoid placing the device near heat-generating components, enclosed hot environments, or direct sunlight.
Users who exceed these limits do so at their own risk, and neither the Brand or the owner assumes no liability for any damage, injury, or loss arising from misuse or operation beyond the recommended specifications.Accuracy: Claimed accuracy is based on internal testing under standard conditions. Real-world results may vary slightly with reactive or non-resistive loads. Tested across a wide range of real-world loads (1.5Ω to 10Ω), and full-scale voltage and current sweep (up to 32V, 10A). Advanced Correction models ensure stable readings across variable resistive conditions.
“Break it into easy monthly payments — starting at just $80/month with Klarna or Affirm. No hidden fees. Available at checkout.”
Trusted Payment Partners:

Future Software Upgrades:
Native Advanced Analysis Dashboard : Advanced AI assisted metrics and analysis including energy consumption, carbon emissions, idle time and more.
Licensed Firmware Access : Users will be able to customize the firmware and access the available GPIOs to integrate additional peripherals such as temperature sensors, I2C/SPI communication devices, or actuators like relays.
Note: As a strong supporter of open-source development—and given that the device is built on the widely used ESP32 platform—users are free to completely overwrite and re-flash the device with their own firmware if they are comfortable doing so. However, doing this will erase the original, rigorously tested native firmware. Alternatively, users may request access to the official firmware source for a minimal one-time licensing fee, which directly supports ongoing research and development.OTA(Over the Air) Support for regular Firmware Updates: Allows remote firmware upgrades without requiring a physical USB connection.
Fast USB Log Support : Enabling power measurements as frequent as every 1 second directly to a local computer via USB, bypassing Wi-Fi-related lag limitations.
*Planned and not guaranteed. Features are subject to change.
Recommended Google Script Code :
Device Setup Guide:
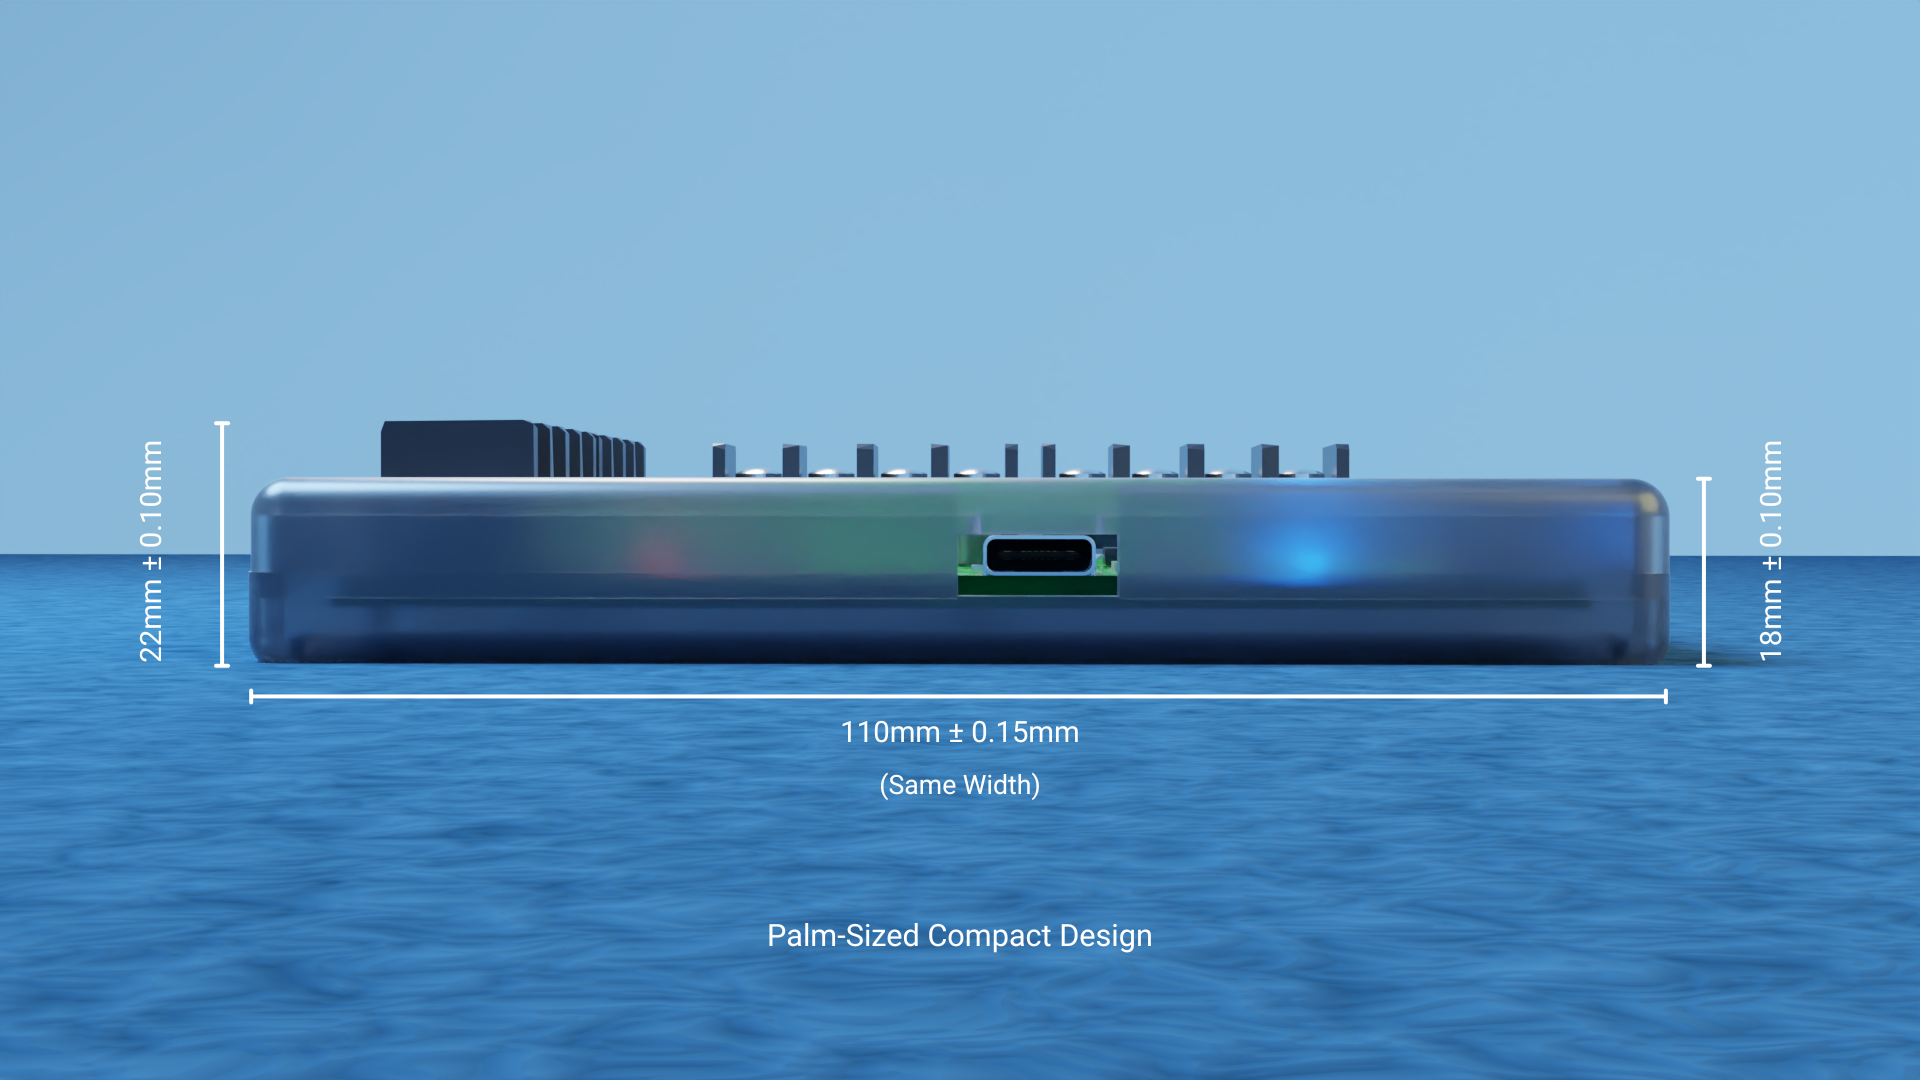
Power up the device using either the USB-C port connected to a laptop or computer, or via the External Power (Ext. PWR) Port exposed pads (+Vin and GND). Make sure the power selection switch is set to match your chosen power source. For optimal performance, use an external power supply with a voltage between 4 to 6 V DC and a current capacity of at least 1 A.
When powered correctly, the blue PWR LED will light up, indicating the internal regulated supply is functioning properly. The blue Wi-Fi LED will then blink rapidly, signaling that the device is waiting to receive configuration data for a timeout period of 15 seconds before resuming normal firmware operation.
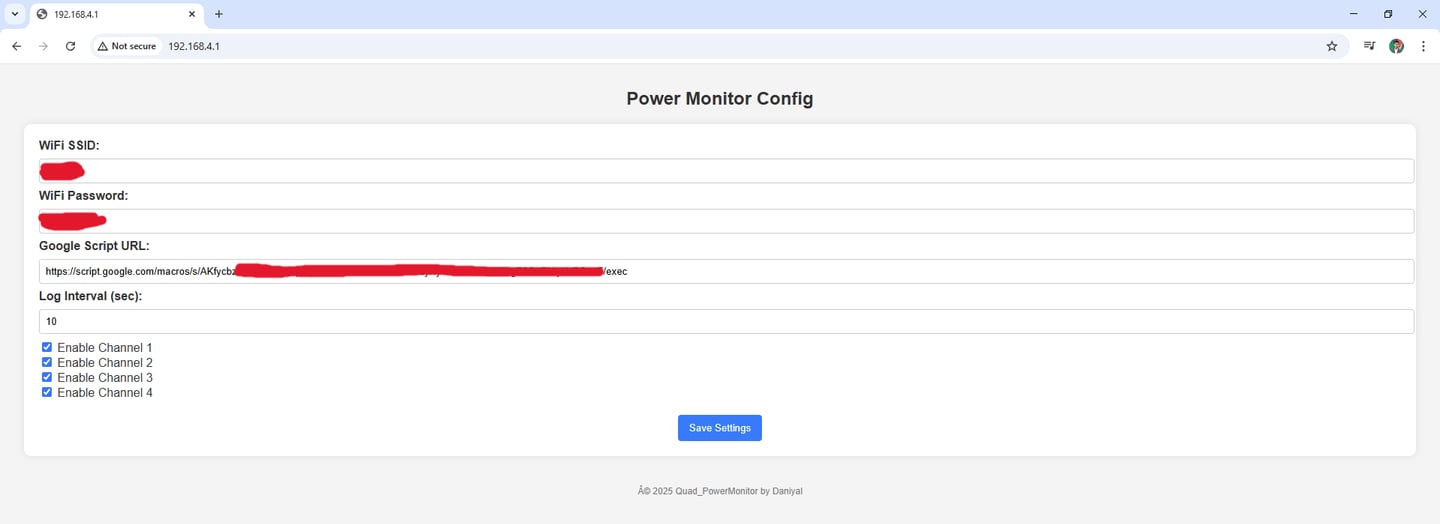
For first-time setup or when reconfiguration is needed, press and hold the BOOT button for about 5 seconds within this 15-second window to enter Device Configuration Mode. This mode activates an online configuration portal accessible by connecting to the Wi-Fi network named PowerMonitorCFG and then opening the default IP address 192.168.4.1 in any web browser.
From there, you can enter and save settings such as Wi-Fi credentials, data log interval, channel enable flags, and the target Google Script URL.
First, create the Google Sheet where you want to store the raw data logs. Then, go to the Extensions menu and select Apps Script. Copy and paste the script provided below into the script editor. After that, save your project and deploy it as a web app, granting all the necessary permissions when prompted.
Recommended Data Management:
To ensure optimal performance and consistent response times, the main Google Sheet used for real-time data logging should be limited to 50,000 entries. Staying within this limit helps maintain seamless communication between your device and the cloud. For long-term storage and analysis, older data needs to be regularly backed up to a separate archive sheet. This process can be handled manually or automated using a simple Google Sheets query. Once backed up, the main log is cleared to keep it fresh and ready for new incoming data. This approach ensures that your device remains fast, reliable, and efficient—no matter how frequently it logs data.
Log Interval:
The measurement log interval can be set anywhere from several seconds to hours, entered in seconds through the configuration portal. Based on extensive testing, a minimum interval of 10 seconds is recommended for stable and reliable operation. Setting intervals below 5 seconds is possible but should be done at your own discretion, as it increases the frequency of Google Apps Script calls, which may exceed the free-tier quota limits. Additionally, such short intervals are more prone to Wi-Fi network delays, which can lead to missed or inconsistent data logging. Internally, the power monitor is capable of taking multiple measurements per second, which are averaged and transmitted over Wi-Fi at user-defined intervals. Fast USB local logging—supporting log rates as low as 1 second—is planned for future versions to enable high-resolution offline data capture.
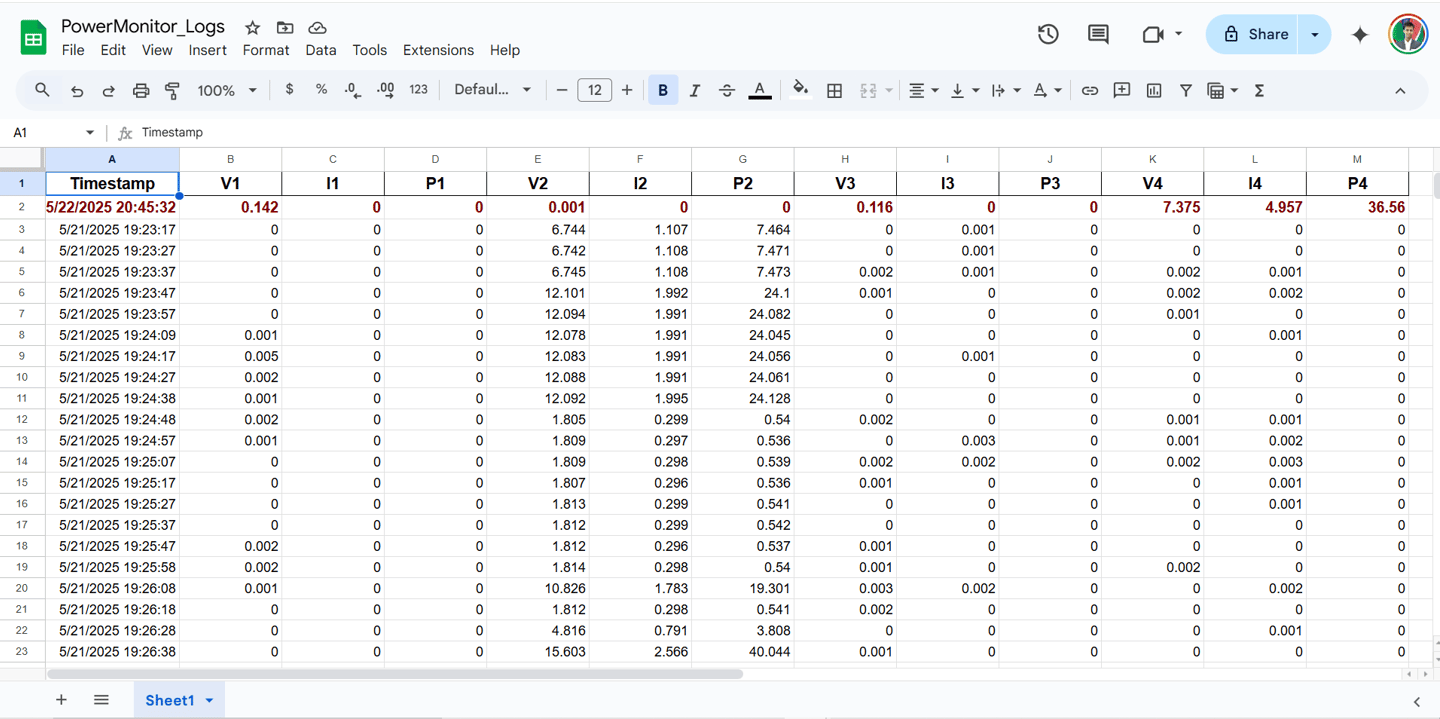
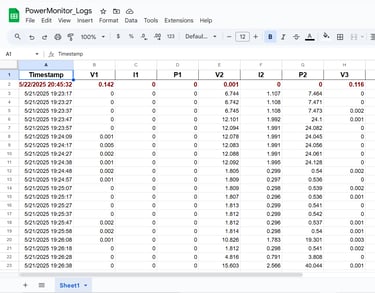
After saving the configuration settings, the device will automatically reset. The Wi-Fi LED will again blink rapidly, indicating it is waiting for configuration input. Since the settings are already configured, simply wait about 15 seconds—the device will then connect to the specified Wi-Fi network and begin streaming raw data to the assigned Google Sheets (indicated by Wi-Fi LED single blink) via the configured script. For easy live monitoring, the second row at the top automatically displays the most recent logged value in bold maroon text.
Daniyal Qureshi
It all started when I wondered how audio can be transmitted in a piece of wire!
Discover More
Contact Me
© 2025. All rights reserved.